DIY Microgreens Growing Projects to Try at Home
Exploring Microgreens DIY Projects can turn your kitchen into a lively, healthy garden. Growing microgreens at home is a fun journey that’s easy, healthy, and creative. These small greens are super nutritious, offering up to 40 times more nutrients than full-grown veggies.
Imagine picking fresh, packed-with-nutrients greens from your windowsill in just 1-2 weeks. Growing microgreens at home is simpler than you think. With a little patience and basic tools, you can create a lush indoor garden. It’s great for your health and adds a fancy touch to your meals.
Microgreens are more than a food trend; they’re a nutritional breakthrough. They’re full of vitamins A, C, E, K, and Lutein. These tiny greens can help with weight management, heart health, and may even prevent chronic diseases. Whether you love health, cooking, or gardening, microgreens are a rewarding and easy project.
Key Takeaways
- Microgreens grow quickly, often in just 1-2 weeks
- Packed with 40 times more nutrients than mature vegetables
- Requires minimal space and equipment
- Supports weight management and heart health
- Can be grown indoors year-round
Introduction to Microgreens and Their Benefits
Microgreens are tiny, nutrient-rich plants perfect for beginners. They’re more than just a garnish. They add power to any home garden and diet.
What Are Microgreens?
Microgreens are young greens harvested just after the first true leaves appear. They’re grown in soil and reach about 2 inches tall in 7 to 21 days. Easy projects include:
- Radish
- Kale
- Basil
- Arugula
- Sunflower
Nutritional Value of Microgreens
These greens are a nutritional powerhouse. They can have up to 40 times more nutrients than full-grown greens. They’re full of vitamins, minerals, and antioxidants, great for a healthy diet.
Why Grow Microgreens at Home?
Growing microgreens is a fun and rewarding hobby for beginners. The benefits include:
- Low initial investment
- Quick harvest time (7-21 days)
- Minimal space requirements
- Fresh, nutritious produce at your fingertips
- Fun and educational gardening experience
Start with simple equipment like a grow tray, organic soil, and seeds. Plant 10-15 grams of seed per tray. It’s an easy and affordable project for home gardeners.
Essential Supplies for Growing Microgreens
Starting your DIY microgreens journey needs careful planning and the right tools. Whether you’re new or have experience, the right supplies are key for growing microgreens.

Containers and Trays
Choosing the right container is crucial. Here are some options:
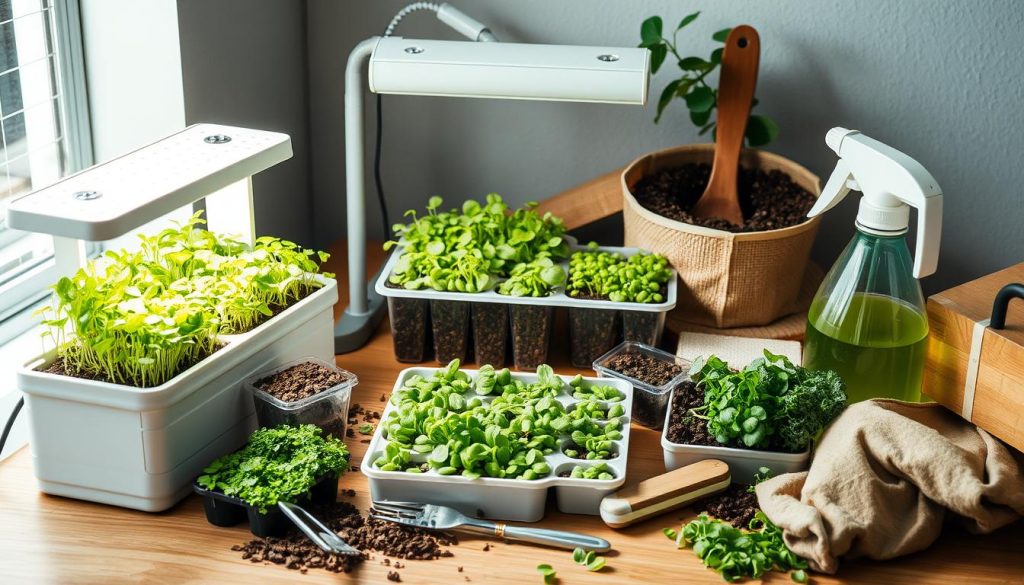
- 10″x20″ standard microgreen trays with drainage holes
- Shallow containers at least 1 inch deep
- Recycled plastic containers
- Ceramic or glass dishes with proper drainage
Soil and Growing Mediums
Success in growing microgreens depends on the right growing medium. Here are some top choices:
- Coconut coir (sustainable and reusable)
- Hemp grow mats
- Jute fiber pads
- Potting soil mix
Seeds and Watering Supplies
For the best DIY microgreens growing, get these essential items:
- 20-36 grams of seeds per tray
- Spray bottle for gentle watering
- Filtered or pH-balanced water
- LED grow light (30 watts recommended)
- Small fan for air circulation
Start with a budget of $200 for trays, growing media, seeds, and lighting. Most items can be used many times, making microgreens a cost-effective and green gardening choice.
Choosing the Right Microgreens to Grow
Urban gardening with microgreens is a fun way to grow healthy greens in small spaces. These tiny plants are full of flavor and nutrients. They’re great for anyone wanting to eat better at home.
When you start growing microgreens, picking the right seeds is key. Knowing what each variety needs helps you choose wisely.
Popular Microgreens Varieties
- Broccoli: Quick-growing with mild, slightly peppery flavor
- Radish: Spicy taste, ready in just 7-10 days
- Peas: Sweet flavor, excellent for beginners
- Kale: Nutrient-dense with robust green taste
- Arugula: Peppery and intense flavor profile
Factors to Consider When Selecting Seeds
Choosing seeds involves looking at a few important things. Think about what you like to eat, how fast they grow, and their nutritional value. Some microgreens are much more nutritious than regular veggies, making them a great choice for your meals.
Seasonal Considerations for Growing
Each microgreen variety does best in different conditions. Some seeds grow fast in warm weather, while others like it cooler. A sunny window or a small grow light can help keep the right conditions all year.
- Spring: Ideal for faster-growing varieties like radish and broccoli
- Summer: Perfect for heat-tolerant seeds like amaranth
- Fall: Great for slower-growing microgreens like chives
- Winter: Use grow lights to supplement limited natural light
Understanding these points makes growing microgreens in the city easy and fun for everyone.
Simple Microgreens DIY Projects for Beginners
Growing organic microgreens at home is fun and rewarding. This guide will show you three easy ways to start. You’ll turn your kitchen into a mini farm.

You don’t need to be a pro gardener to start. Just a few simple things and basic steps. You can grow fresh, healthy greens at home.
Soil-Based Microgreens Garden
Soil-based growing is easy and reliable for beginners. Here’s what you’ll need:
- Shallow growing tray
- Organic potting soil
- Microgreen seeds
- Spray bottle
- Light source
Hydroponic Microgreens Setup
Hydroponics is great for those who want a clean setup. It uses water and mats instead of soil.
- Select a hydroponic grow mat
- Soak the mat thoroughly
- Spread seeds evenly
- Maintain consistent moisture
Jar or Bottle Microgreens
The jar method is perfect for small spaces. It’s easy to start growing pea microgreens at home. You can do it in just a week, and it’s cheaper than buying them.
Remember, most microgreens are ready in 8-15 days. They grow to 1-3 inches tall. Your homegrown greens will add flavor and nutrients to any dish.
Advanced Techniques for Experienced Growers
For those who love urban gardening with microgreens, there’s more to learn. Advanced growing techniques can boost production and nutrition. With the right knowledge and tools, microgreens DIY Projects can become more complex and rewarding.
Vermiculture Integration
Adding vermiculture to microgreens creates a green ecosystem. Worm composting adds nutrients that help microgreens grow better. Growers can make a system where worm castings feed their microgreens.
LED Grow Light Technologies
LED grow lights change how we grow microgreens. They let us grow plants all year round. LED lights have many benefits:
- They give plants the right light for growth.
- They use less energy.
- They don’t get too hot.
- Growers can change the light schedule.
Vertical Gardening Strategies
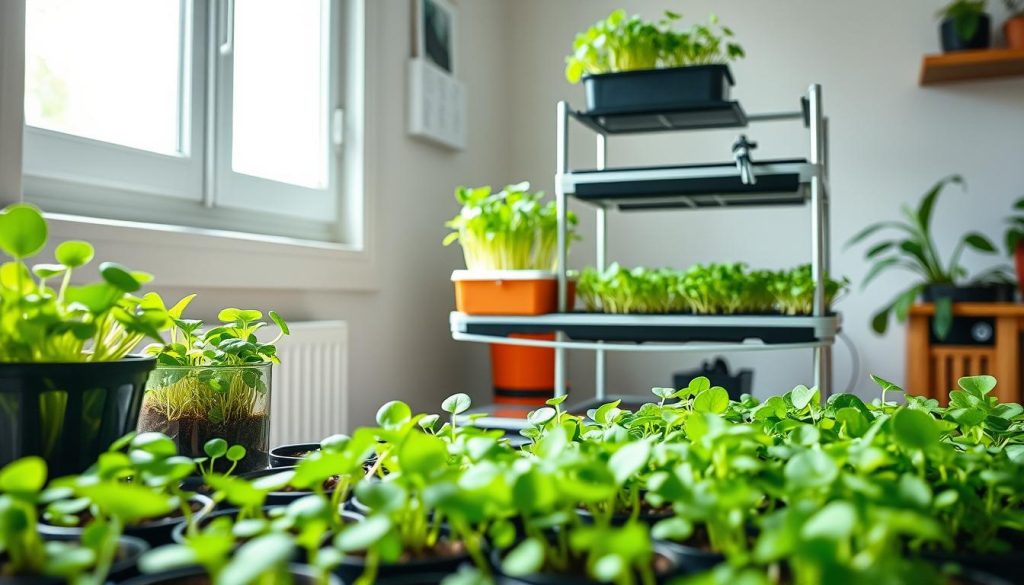
Vertical gardening takes microgreens to new levels. It uses space wisely, turning walls into gardens. With multi-tiered shelves and special planters, even small spaces can grow a lot of microgreens.
Using these advanced methods, growing microgreens becomes a complex and rewarding hobby. It offers great nutrition and helps grow food sustainably.
Creative Microgreens Containers
You don’t need to spend a lot to grow microgreens. Everyday items can turn into great places for these greens. Using recycled containers is good for your wallet and the planet.
Upcycling Household Items for Microgreen Gardens
Start with what you already have. Plastic salad containers are perfect for growing microgreens. They help seeds grow fast and strong.
- Egg cartons: Excellent for small-scale microgreens
- Mason jars: Perfect for hydroponic growing methods
- Takeout containers: Recyclable and spacious growing platforms
- Plastic produce containers: Natural drainage and compact design
Stylish Planters for Modern Spaces
Microgreens can look good and work well. Choose containers that match your home’s style. Options like ceramic, wood, and metal can make your garden look great.
Vertical Garden Systems for Limited Spaces
If you live in the city, use vertical systems. Stackable trays and wall planters save space. They let you grow more without taking up a lot of room.
For success, make sure containers drain well, stay moist, and are the right size. With a little creativity, any container can be a microgreen garden.
Maintenance Tips for Healthy Microgreens
Growing successful microgreens needs careful attention. A good microgreens planting guide helps gardeners grow thriving indoor crops. These crops are nutritious and easy to care for.
Understanding microgreen care can turn your DIY project into a productive home garden. It goes from a simple experiment to a consistent success.
Watering and Light Requirements
Microgreens need specific watering and light to grow well. Here are key guidelines:
- Water microgreens daily, using bottom watering techniques
- Give them 14-16 hours of light each day
- Keep the moisture consistent, avoiding too much water
- Use distilled water to avoid mineral buildup
Pest Management Strategies
Keeping your microgreens safe from pests requires organic methods:
- Make sure there’s good air circulation
- Use clean, sterilized containers for growing
- Keep humidity levels between 40-60%
- Remove any plants that look infected right away
Harvesting Techniques
Knowing when and how to harvest is key for flavor and nutrition:
- Harvest when microgreens are 2-3 inches tall
- Use clean, sharp scissors for cutting
- Cut just above the soil line
- Harvest in the morning for the best taste
Mastering these maintenance tips will help you grow vibrant, healthy microgreens at home.
Incorporating Microgreens into Your Diet
Learning to grow microgreens at home opens up a world of culinary creativity and nutrition. These tiny powerhouses can make everyday meals special with their intense flavors and high nutrient content.
Healthy Recipes Using Microgreens
Easy microgreens projects can quickly turn into delicious meal upgrades. Here are some exciting ways to add microgreens to your diet:
- Create vibrant salads using microgreens as a complete lettuce substitute
- Blend microgreens into smoothies for an instant nutrient boost
- Use sunflower microgreens as a crunchy raw snack similar to popcorn
- Add to salsas, guacamole, and cold salads for extra flavor
Garnishing and Enhancing Dishes
Microgreens are incredibly versatile in cooking. Sprinkle them on pizzas, tacos, sandwiches, and even stir-fries to boost flavor and nutrition. Pea shoots and garlic chives are great in both hot and cold dishes.
Benefits of Eating Fresh Microgreens
The nutritional value of microgreens is impressive. These small greens have up to 40 times more nutrients than mature vegetables. A single serving can give you over 134% of your daily Vitamin C and 2-3 grams of dietary fiber.
- Enhance flavor profiles in multiple dishes
- Provide concentrated nutrients
- Add visual appeal to meals
- Offer versatile culinary options
By adding microgreens to your diet, you’ll not only increase your meal’s nutritional value. You’ll also enjoy a new level of flavor and creativity in your cooking.
Conclusion: Start Your Microgreens Journey Today
Your microgreens adventure begins now! Growing them is simple and quick, taking just 7 to 14 days. They are a great choice for those looking to boost their diet with lots of nutrients.
The guide you followed shows how easy it is to start gardening in the city. You don’t need a lot of space or money to grow microgreens. They come in over 100 varieties, each with its own taste and lots of vitamins.
Microgreens are perfect for adding nutrition to your meals. They can be grown all year indoors and are easy to care for. Start growing them and watch your cooking and gardening skills grow too!
Final Thoughts on Growing Microgreens
Every small step is important in growing microgreens. Your home can become a garden full of fresh, healthy greens with a little patience and care.
Encouragement to Experiment and Share
Don’t be shy to try new seeds and growing methods. Share your successes and learn from each harvest. The microgreens community is friendly and loves to share tips!
Resources for Further Learning
Keep learning by joining local gardening groups, online forums, and microgreens workshops. Your journey of discovery is just starting!