Cultivate Your Own Microgreens with DIY Kits
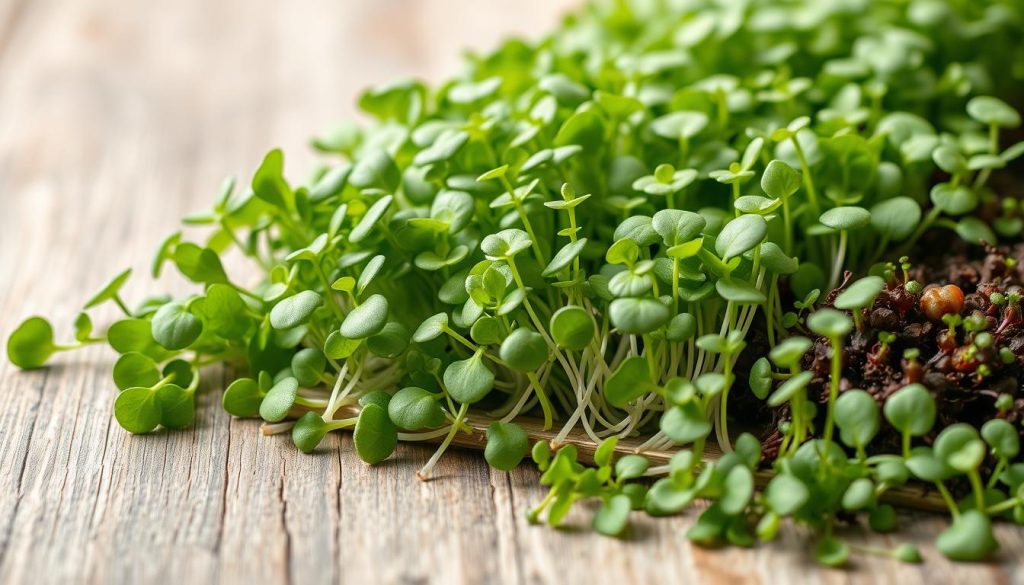
Explore the world of home gardening with DIY microgreen kits. They turn your kitchen into a place full of nutrients. Growing microgreens at home is easy and can change how you get fresh, healthy food.
These tiny greens are packed with nutrients, up to 40 times more than full-grown veggies. Modern gardeners love DIY microgreen kits for growing their own organic food. They’re perfect for anyone, whether you’re new to gardening or have lots of experience.
These kits come with everything you need to start growing microgreens. You can have fresh greens in just two weeks. The microgreens market is growing fast, showing more people want to grow their own food.
Key Takeaways
- Microgreens contain up to 40 times more nutrients than mature vegetables
- DIY microgreen kits make home gardening accessible to everyone
- Growing cycles are quick, typically 7-14 days
- Kits are suitable for both beginners and experienced gardeners
- Home-grown microgreens can increase fresh produce consumption by 13%
What Are Microgreens and Their Benefits?
Microgreens are tiny, packed with nutrients, and have become very popular. They are harvested when they are just 7-14 days old. Despite their small size, they offer a big nutritional boost that can change your diet and health.
The nutritional value of microgreens is amazing. Studies show they can have up to 40 times more nutrients than full-grown plants. Some microgreens are especially rich in nutrients:
- Red cabbage: Highest concentration of Vitamin C
- Cilantro: Rich in Vitamin A
- Garnet amaranth: Excellent source of Vitamin K
- Green daikon radish: High in Vitamin E
Nutritional Powerhouse
Microgreens offer more than just basic nutrients. They can help lower the risk of heart disease and kidney disease. They can also help with mineral deficiencies, boost the immune system, and even improve mood.
Environmental and Economic Advantages
Growing microgreens at home is good for the environment. They need very little space and use less water than regular gardening. They also grow fast, which means you can harvest them quickly. Growing your own microgreens can also save you money compared to buying them from stores or restaurants.
With over 100 varieties to choose from and the ability to grow them in small spaces, microgreens are a great addition to any diet.
Types of Microgreens You Can Grow
The world of microgreens is full of variety, offering gardeners and food lovers many exciting options. From well-known favorites to unique finds, there’s always something new to try at home.

Microgreens are young greens packed with nutrients. With over 1,500 types to choose from, growing them at home is a fun adventure. You can explore different tastes and textures.
Popular Microgreen Varieties
Some top microgreens to grow include:
- Broccoli – Fastest growing and easiest to cultivate
- Kale – Nutrient-dense and quick to mature
- Radish – Spicy flavor profile
- Arugula – Peppery taste
- Sunflower – Mild and crisp
- Wheatgrass – Highly nutritious
Unique and Uncommon Choices
For those who love to try new things, there are many unique microgreens. Some interesting ones are:
- Amaranth – Beautiful red-colored microgreens
- Buckwheat – Delicate and light
- Fenugreek – Distinctive aromatic profile
- Chia – Nutrient-rich and easy to grow
There are about 15 main types of microgreens and over 200 more to explore. They offer a wide range of flavors, colors, and health benefits for gardeners and food lovers.
Getting Started with DIY Microgreen Kits
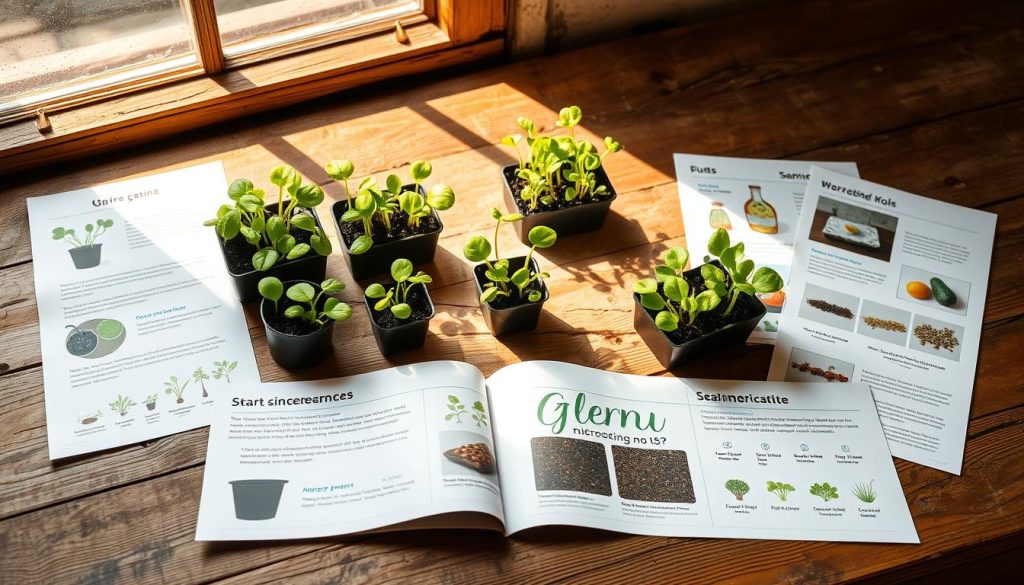
Starting with microgreen growing supplies might seem hard, but it’s easy once you know how. The first step is to pick a microgreen kit that fits your space and skill level.
- Growing trays with drainage holes
- Organic seed varieties
- Natural growing medium (coconut coir or hemp mats)
- Spray bottle for gentle watering
- Small scale or measuring tools
Selecting the Perfect Microgreen Kit
Choosing the right microgreen kit depends on a few things. Think about the space you have, how much sunlight it gets, and what you want to achieve. Some kits are perfect for small spaces like kitchen counters, while others are better for bigger gardens.
Key Considerations for Kit Selection
- Size of growing area
- Included seed varieties
- Quality of growing medium
- Ease of use for beginners
- Additional accessories provided
Most DIY microgreen kits are easy for beginners. Radish and broccoli seeds are great for starters. They grow fast, in about 7-10 days, and are very nutritious. Plus, growing microgreens is simple and cheap, making it a hobby anyone can enjoy.
Step-by-Step Guide to Planting Microgreens
Growing microgreens at home is fun and rewarding. This guide will show you how to plant and care for your own greens. It’s easy, whether you’re new or have gardening experience.

Preparing Your Growing Medium
Choosing the right growing medium is key for growing microgreens. Here’s what to do:
- Choose a shallow tray with drainage holes
- Use high-quality, sterile seed-starting mix
- Fill the tray evenly, leaving about 1 inch of space at the top
- Gently press the soil to create a smooth, flat surface
Sowing Seeds
Proper seed distribution is important for growing microgreens. Here’s how to do it right:
- Select high-quality seeds for microgreens
- Spread seeds evenly across the growing medium
- Aim for 10-12 seeds per square inch for smaller varieties
- For larger seeds like sunflower, use 6-8 seeds per square inch
- Lightly press seeds into the soil surface
Maintaining Optimal Conditions
Creating the right environment is crucial for microgreen growth. Consider these factors:
- Provide 4-8 hours of direct light daily
- Maintain consistent temperature between 60-75°F
- Use a humidity dome to retain moisture
- Water carefully using bottom-watering techniques
- Expect germination within 2-3 days for most varieties
With patience and attention to detail, you’ll soon harvest fresh, nutrient-packed microgreens from your home garden. Most microgreens are ready to harvest within 7-21 days after sowing.
Watering and Care for Your Microgreens
Microgreen care is all about finding the right balance of moisture and light. It’s important to water them correctly to ensure they grow well and stay vibrant. Let’s dive into the key steps to care for your microgreens.
Precise Watering Techniques
Watering microgreens needs careful attention. Most types need consistent moisture but shouldn’t be too wet. Here are some tips for watering:
- Water once daily to keep the growing mat moist
- Use approximately 1.5 cups of water for initial growth stages
- Avoid overwatering by checking soil moisture before each watering
- Remove excess water from bottom trays to prevent root suffocation
Understanding Light Requirements
Watering and light are closely linked for microgreens. They can grow in low light but do best near windows with indirect sunlight. Aim for 4-6 hours of light daily.
Avoiding Common Care Mistakes
New growers often face challenges with microgreens. The most common mistakes include:
- Overwatering, which can lead to mold growth
- Inconsistent moisture levels
- Neglecting proper drainage
- Ignoring humidity requirements
Pro tip: Keep humidity between 40-50% and check your microgreens daily. With practice, you’ll get the hang of their care needs.
Harvesting Your Microgreens
Growing microgreens is an exciting journey that ends with harvesting. Your homegrown microgreens are now ready to make your meals fresh and full of nutrients.
When to Harvest
Timing is key when harvesting microgreens. Most varieties are ready between 10-20 days after planting. Look for these signs:
- Microgreens are 1-3 inches tall
- First true leaves have developed
- Plants look vibrant and healthy
How to Harvest Properly
Harvesting microgreens needs a gentle touch. Use clean, sharp scissors to cut the stems just above the soil. This method helps them grow back and ensures a clean cut.
Storing Fresh Microgreens
Storing microgreens right keeps them fresh and full of nutrients. Here’s how:
- Use a sealed container or zip-lock bag
- Place a damp paper towel in the container
- Store in the refrigerator
- Consume within 5-7 days for best quality
Pro tip for harvesting microgreens: Cut only what you need, leaving the rest to grow. This way, you always have fresh greens ready.
Troubleshooting Common Issues
Growing microgreens can be rewarding, but every gardener faces challenges. Knowing how to solve microgreen growing problems helps keep your crop healthy.
Identifying and Managing Pests
Microgreen pests can ruin your harvest fast. Look out for these common pests:
- Fungus gnats around soil surface
- White mold patches
- Unexpected seed decay
Distinguishing Mold from Root Hairs
Many new growers confuse root hairs with mold. Root hairs look like fuzzy white strands from seed sprouts. Mold, however, forms a spiderweb-like substance on top of seeds.
Watering Challenges
Getting the right amount of water is key in growing microgreens. Too much water can lead to mold, with over 85% of problems coming from water issues.
- Overwatering causes root rot
- Underwatering leads to stunted growth
- Use gentle misting for initial watering
Seed and Germination Concerns
Seed quality is crucial for microgreen success. Look for seeds with at least 75% germination rate. Grow them in temperatures between 65-80 degrees Fahrenheit for best results.
Creative Ways to Use Microgreens
Microgreens are culinary superstars that can turn ordinary meals into extraordinary ones. These tiny greens add a lot of flavor, nutrition, and beauty. They make any dish more interesting and healthy.
Culinary Applications
- Top pizzas, tacos, and wraps with fresh microgreens for added crunch
- Blend into smoothies for an instant nutrient boost
- Mix into ground meats to enhance moisture and nutritional content
- Create vibrant pestos and pasta sauces using various microgreen varieties
- Elevate salad and sandwich preparations with different microgreen flavors
Garnishing and Decoration
Microgreens are not just about taste – they’re a visual treat. Chefs and home cooks can use these miniature greens to:
- Enhance plate presentation with colorful microgreen garnishes
- Add height and texture to soups and entrees
- Create Instagram-worthy dishes with strategic microgreen placement
- Experiment with flavor combinations like borage and mint in drinks
From cocktails like mojitos to morning smoothies, microgreens offer endless culinary creativity. Start experimenting and find your favorite ways to enjoy these nutritional powerhouses!
Resources for Further Learning
Exploring more about microgreen growing can change your urban gardening game. Whether you’re new or have experience, learning more about microgreen communities can improve your skills. This knowledge helps you grow these nutritious greens better.
Books and Guides
Check out detailed guides for expert tips on growing microgreens. Recommended books cover everything from choosing seeds to advanced growing methods. Look for books that talk about the best seed density, light needs, and the health benefits of different microgreens.
Online Communities and Forums
Join online groups to connect with other microgreen fans. Sites like Back to the Roots and gardening forums are full of helpful advice. You can share your experiences, get help with problems, and learn new growing tips.
Need specific advice? Call experts at 510.588.5331 or email contact@backtotheroots.com. They’re ready to help with your microgreen growing questions.